I used to think gluten-free bread was just regular bread with the good part removed. Mix, rise fast, bake, slice it warm and wonder why the inside is wet.
I have not baked this loaf yet. I am writing this before I do, on purpose.
The fridge is supposed to change that. A slow 12 to 18 hour cold ferment does not just delay the bake — it lets the dough build organic acids that mimic sourdough tang, and it gives psyllium husk time to fully hydrate into the gel that holds a gluten-free loaf together. No gluten network means no fast warm rise to hide behind. Time is the structure.
This loaf is built for that overnight wait. You mix for about 25 minutes, give it 1 hour at room temperature, then the fridge does the work while you sleep. Publishing it now is the trick: I have to come back and update it with what actually happened — crumb photo, what went wrong, and whether I would make it again.
The honest headline: active time is about 25 minutes. Total time is 13 to 19 hours, almost all of it hands-off in the fridge. The two grids below split the job so you never hold the whole loaf in your head at once.
🍞 Recipe at a Glance
| Preparation time | About 25 minutes active |
| Cooking time | About 55–60 minutes at 230 °C, then 210 °C |
| Total time | About 13–19 hours (incl. 12–18 hours cold ferment) |
| Yield | 1 loaf, about 800 g dough |
| Difficulty | Moderate — sticky dough, no kneading skill needed |
| Best served with | Olive oil and flaky salt, soup, or toasted the next day |
🛒 Ingredients and Why They Are There
The Dry Base
| Ingredient | Quantity | What it does |
|---|---|---|
| Sorghum flour (or brown rice flour) | 150 g | The main flour body. Mild, slightly sweet, and naturally gluten-free — it gives the crumb its structure without tightness. I have a free bag of gluten-free brown flour in the cupboard, so that is the one I will try first here, swapping it in gram for gram |
| Tapioca starch / flour | 100 g | The stretch. Tapioca gelatinises into a chewy, elastic crumb that keeps the loaf from being crumbly |
| Potato starch (not potato flour) | 100 g | The softness. Holds water, lightens the crumb, and slows staling — potato flour would be heavier and gummier |
| Teff flour or buckwheat flour | 50 g | The depth. Dark, earthy flavour and colour, so the loaf tastes like bread instead of a starch cake |
| Fine sea salt | 10 g (about 1½ tsp) | Seasons, tightens the gel, and slows the yeast so the cold ferment stays steady instead of frantic |
The Binding and Liquid Phase
| Ingredient | Quantity | What it does |
|---|---|---|
| Whole psyllium husks (or 16 g powdered) | 20 g | The binder. Forms a pliable gel that traps gas the way gluten would — this is the whole structure, do not skip it |
| Warm water, split in two parts | 450 g total at 38 °C (100 °F) | Hydrates the flours and the psyllium. Warm, not hot — hot water kills yeast, cold water slows it |
| Instant dry yeast | 7 g (1 packet) | Produces carbon dioxide for lift and organic acids during the long ferment for sourdough-like flavour |
| Honey or maple syrup | 15 g | A quick meal for the yeast at the start, and a little sugar for crust colour |
| Olive oil or melted butter | 15 g | Coats the starches for a tender crumb and carries aroma — butter is richer, olive oil is cleaner |
| Rice flour, extra for dusting | extra, as needed | Non-sticky dusting for the basket and the work surface — wheat flour would reintroduce gluten |
Do not add extra flour to the sticky dough. Gluten-free dough is wetter than wheat dough by design. If you dry it out, the psyllium gel cannot do its job and the crumb turns to cake.
🧠 The Recipe as Two Small Recipes
Ingredients with quantities down the left, operations merged across the rows they consume. Read a row rightwards to see where that ingredient ends up; read a cell downwards to see everything that goes into it.
1 · The Dough and the Cold Ferment
| 350 g warm water at 38 °C (100 °F) | whisk into a thick gel · rest until pliable5 min | add gel + yeast + oil · mix until sticky and uniform4–5 min | rise at room temperature until 30–40% bigger · shape into a boule in a rice-floured basket60 min | cover tightly · cold ferment in the fridge at 3–5 °C12–18 hours | ||
| 20 g whole psyllium husks (or 16 g powdered) | ||||||
| 100 g warm water, remaining | mix until foamy5–10 min | |||||
| 15 g honey or maple syrup | ||||||
| 7 g instant dry yeast (1 packet) | ||||||
| 150 g sorghum flour (or brown rice flour) | whisk the dry flours together | |||||
| 100 g tapioca starch / flour | ||||||
| 100 g potato starch (not potato flour) | ||||||
| 50 g teff flour or buckwheat flour | ||||||
| 10 g fine sea salt (about 1½ tsp) | ||||||
| 15 g olive oil or melted butter | ||||||
2 · The Bake
| Empty Dutch oven with lid inside the oven · preheat to 230 °C (450 °F) | |||
| the cold risen dough, from grid 1 | flip onto parchment · dust · score 0.5 inch deep2 min | steam bake covered at 230 °C · ice cubes under the parchment, lid on at once35 min | bake uncovered at 210 °C (410 °F) until deep golden and hollow underneath20–25 min |
| rice flour, extra for dusting the top | |||
| 2 ice cubes, for steam | |||
| Cool on a wire rack for at least 2 hours · do not slice warm | |||
Three things the grids make obvious.
Only about 25 minutes need you. The long cells are waiting: 60 minutes for the first rise, 12–18 hours in the fridge, 45 minutes to preheat the Dutch oven, and 2 hours to cool. Set a named timer at each one and leave.
Grid 2 starts before you go to bed. Put the empty Dutch oven in the oven the night before if your oven allows it, or at least remember it in the morning — preheat is the step most people forget when the dough is already cold and ready.
The cool is part of the recipe. Two hours on a rack is not patience theatre. Gluten-free crumb keeps setting as it cools; slicing warm makes it gummy no matter how good the bake was.
Don’t forget: Dutch oven in the oven before you preheat, score straight from the fridge, and a 2 hour cool. Those three lines are the whole bake.
🍳 Method
1. Make the Psyllium Gel
Whisk 20 g whole psyllium husks into 350 g warm water at 38 °C. Set timer: psyllium gel, 5 min. It should turn into a thick, pliable gel. If you are using 16 g powdered psyllium, start with less water and whisk fast — powder clumps.
2. Activate the Yeast
In a cup, mix the remaining 100 g warm water, 15 g honey, and 7 g instant yeast. Set timer: yeast bloom, 5–10 min. Done when the surface is foamy. No foam after 10 min? Make a fresh cup with fresh yeast.
Visual cues beat the clock here. Water at 38 °C is warm to a fingertip, not hot. Much above 50 °C and you start killing the yeast.
3. Combine the Dry Flours
In a large bowl, whisk 150 g sorghum flour, 100 g tapioca starch, 100 g potato starch, 50 g teff flour, and 10 g salt. Whisking aerates the starches so the gel spreads evenly instead of finding dry pockets.
4. Mix the Dough
Add the psyllium gel, the yeast mixture, and 15 g olive oil to the dry flours. Mix with a stand mixer on paddle for 4–5 min, or beat hard by hand with a sturdy spatula. The dough will be wetter and stickier than wheat dough — that is correct. Do not add flour.
5. First Rise at Room Temperature
Cover with a damp towel or plastic wrap. Set timer: first rise, 60 min. Done when the dough has grown about 30–40%, not doubled. While you wait: rinse bowls, line a banneton or bowl with a tea towel, and dust it with rice flour.
6. Shape Into a Boule
Turn the dough out onto a rice-floured surface. Shape gently into a smooth round and place it smooth-side down in the basket. Gluten-free dough tears if you stretch it — press and tuck, do not pull.
7. Cold Ferment in the Fridge
Cover the basket tightly with a plastic bag or reusable cover to trap moisture. Set timer: cold ferment, 12–18 hours at 3–5 °C (38–41 °F). A 12 hour ferment is tangy and open; 18 hours is deeper and more sour. While you wait: put the empty Dutch oven in the oven.
8. Preheat the Dutch Oven
Preheat the oven with the Dutch oven inside to 230 °C (450 °F) for at least 45 min. Set timer: preheat, 45 min. About halfway (22 min), check that the oven actually reached temperature — cold ovens are the number one cause of a flat gluten-free loaf.
9. Score the Loaf
Pull the dough straight from the fridge — do not let it warm up. Flip it onto parchment, dust the top lightly with rice flour, and score one deep slash about 0.5 inch deep with a sharp razor blade.
10. Steam Bake Covered
Transfer the loaf on its parchment into the hot Dutch oven. Drop 2 ice cubes under the parchment, outside the loaf margin, to make steam. Lid on immediately. Set timer: covered bake, 35 min at 230 °C.
11. Bake Uncovered
Remove the lid, lower the heat to 210 °C (410 °F), and set timer: uncovered bake, 20–25 min. Done when the crust is deep golden brown and the base sounds hollow when tapped.
12. Cool Completely
Transfer to a wire rack. Set timer: cooling, 2 hours. Do not slice warm. Gluten-free bread continues setting internally as it cools; cutting warm dough makes the interior gummy.
🔬 Why It Works
Psyllium gel replaces gluten
Gluten is a stretchy network that traps gas. Psyllium husk forms a hydrocolloid gel that does the same job with viscosity instead of elasticity. That is why the gel step comes first and why the dough stays sticky — the gel is the structure, not a side ingredient.
Cold ferment builds flavour the warm rise cannot
Yeast at fridge temperature works slowly, producing organic acids in small amounts over many hours. Those acids are what make an authentic sourdough taste complex instead of just yeasty. A fast warm rise gives lift but almost no flavour; the overnight ferment gives both, in that order.
Steam sets the crust, dry heat finishes it
Ice cubes under the parchment flash to steam, which keeps the crust pliable while the loaf expands in the first 35 min. Removing the lid for the last 20–25 min lets the crust dry out and brown. Swap those two phases and you get either a pale, soft loaf or a loaf that bursts before it sets.
🧯 Troubleshooting
| Problem | Likely cause | Rescue plan |
|---|---|---|
| Crumb is gummy | Sliced warm, or underbaked inside | Wait the full 2 hours next time; if already baked, toast slices until the centre firms up — do not re-bake the whole loaf |
| Loaf is flat and dense | Dutch oven was not hot enough, or score was too shallow | Preheat a full 45 min, score 0.5 inch deep straight from the fridge, and keep the lid on for the full 35 min |
| Psyllium gel is lumpy | Powdered psyllium added to water all at once | Whisk the powder into the dry flours first next time, then add water; for this batch, whisk the lumps out hard and keep going — they usually hydrate |
| Crust is pale and soft | Lid removed too early, or oven ran cool | Keep the lid on 35 min, then bake uncovered at 210 °C until deep golden — colour is the cue, not just the timer |
| Loaf tastes yeasty, not tangy | Cold ferment was too short | Push to 18 hours next time; use the extra time for the preheat, not for a shortcut |
Food safety: do not leave the baked loaf at room temperature for more than 2 days. Slice and freeze it after day one if you will not finish it — gluten-free crumb dries out fast, and freezing protects both quality and safety.
✨ Make It Yours
- With the free bag: swap in my free gluten-free brown flour gram for gram for the 150 g sorghum/brown rice flour, and note the result here when I bake it.
- Tangy: use buckwheat instead of teff and ferment the full 18 hours.
- Neutral: use brown rice flour instead of sorghum and olive oil instead of butter, for a cleaner crumb.
- Rich: use melted butter instead of olive oil and add 10 g extra to the dough.
- Seeded crust: brush the scored top with water and press on 15 g mixed seeds before the covered bake.
- Small loaf: halve everything, use a 15 cm Dutch oven, and cut the covered bake to 25 min.
🧊 Storage and Reheating
Store the whole loaf, cut-side down, in a cloth bag at room temperature for 1 day, or slice and freeze in a sealed bag for up to 1 month. Reheat slices in a toaster or a 180 °C oven for 5 min until crisp at the edges. Never microwave a slice to “soften” it — it turns the crumb rubbery.
Do not refrigerate the baked loaf. The fridge accelerates staling in gluten-free bread. Freeze it instead, and reheat from frozen.
💭 Final Thoughts
This post is a commitment, not a result. I have not baked it, I have not tasted it, and I do not know yet whether the free gluten-free brown flour will work gram for gram or whether the crumb will be gummy, flat, or surprisingly good.
When I do bake it, I will come back here and add the crumb photo, the real timings, and what I would change. That is the whole point of publishing early — future me cannot quietly abandon a half-finished recipe if the internet already has it.
Have you tried a fridge ferment with psyllium, or do you still bake gluten-free the same day? Tell me what your crumb does at the 2 hour mark — I will compare when I finally get mine in the oven.
Image Credits
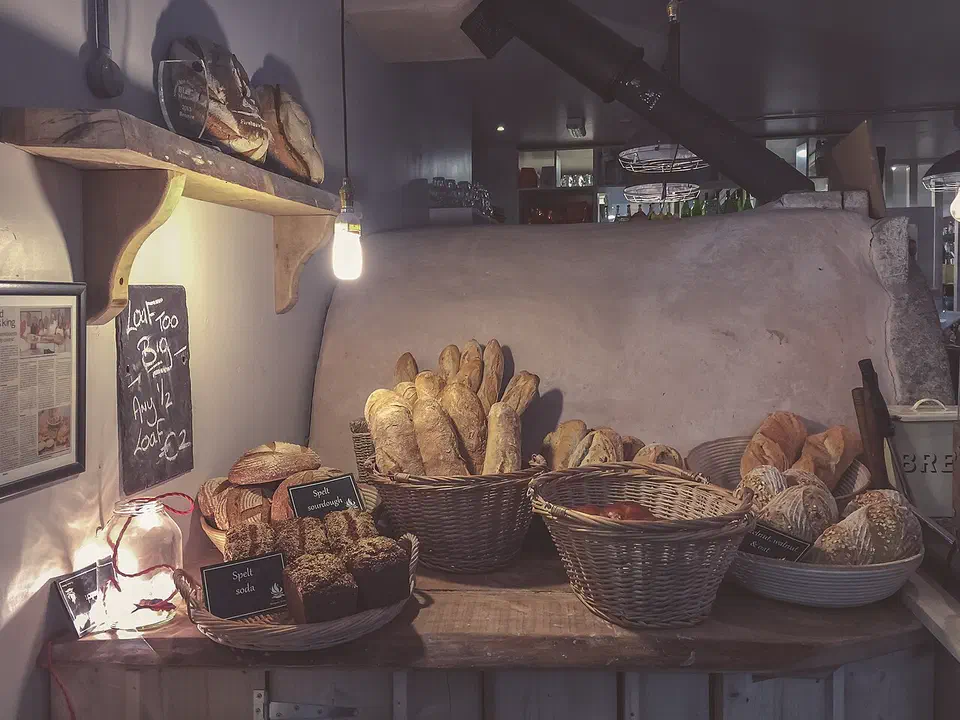
- Cover photo: Artisan Loaves of Bread (Unsplash) on Wikimedia Commons, CC0 1.0 Universal Public Domain Dedication.
